Custom Button: Render & Attach PDF
In my last post I provided a template for creating a Visualforce page rendered as a PDF. In this post I am going to show you how to generate that PDF file and attach it to a record within Salesforce by simply clicking a button/link.
This is useful when you need to create a PDF for things like receipts or invoices and you simply want to generate the file and attach it with as few clicks as possible.
In order for the logic here to work you will have to create the PDF rendered Visualforce page from the previous post and also create the static resource for the CSS file referenced in that code. One item I failed to define in that previous post was the name of the Visualforce page. Since we will be calling the previous Visualforce page from our new code we need to agree upon a name and I think pdfDemo will work just fine.
The first thing we need to create is a controller for our Visualforce page. For this demo we will be accessing the functionality via custom button/link from the Account detail page. The intent of the controller is to generate the PDF Visualforce page (from the previous post), save that file as an attachment linked to the Account and then redirect the User back to the Account detail page.
Navigate to Setup > Develop > Apex Classes then click the "New" button in the middle of the page. Copy and paste the code from below into the new class body.
/*
	Created by: Greg Hacic
	Last Update: 7 August 2015 by Greg Hacic
	Questions?: greg@interactiveties.com

	Notes:
		- extension for the attachPDFToAccount.page Visualforce page which is accessible from a custom link on the Account detail page
		- generates a PDF file and attaches it to the Account
*/
public class attachPDFToAccount {

	private final Account a; //Account object

	//constructor
	public attachPDFToAccount(ApexPages.StandardController standardPageController) {
		a = (Account)standardPageController.getRecord(); //instantiate the Account object for the current record
	}

	//method called from the Visualforce's action attribute
	public PageReference attachPDF() {

		//generate and attach the PDF document
		PageReference pdfPage = Page.pdfDemo; //create a page reference to our pdfDemo Visualforce page, which was created from the post https://interactiveties.com/blog/2015/render-visualforce-pdf.php
		Blob pdfBlob; //create a blob for the PDF content
		if (!Test.isRunningTest()) { //if we are not in testing context
			pdfBlob = pdfPage.getContent(); //generate the pdf blob
		} else { //otherwise, we are in testing context and getContent() gets funky so create the blob manually
			pdfBlob = Blob.valueOf('Some Text for a boring PDF file...');
		}
		Attachment attach = new Attachment(parentId = a.Id, Name = 'pdfAttachmentDemo.pdf', body = pdfBlob); //create the attachment object
		insert attach; //insert the attachment

		//redirect the user
		PageReference pageWhereWeWantToGo = new ApexPages.StandardController(a).view(); //we want to redirect the User back to the Account detail page
		pageWhereWeWantToGo.setRedirect(true); //indicate that the redirect should be performed on the client side
		return pageWhereWeWantToGo; //send the User on their way
	}

}
Now we need our Visualforce page. The code is very simple and if the Apex logic works as intended then no human will ever actually see the page render at all.
Navigate to Setup > Develop > Pages and click the "New" button. Copy and paste the following code into the body of the new page:
<apex:page action="{!attachPDF}" extensions="attachPDFToAccount" standardController="Account">
<!--
	Created by: Greg Hacic
	Last Update: 7 August 2015 by Greg Hacic
	Questions?: greg@interactiveties.com

	Notes:
		- Visualforce page for creating a PDF file and attaching to Account
-->
	<apex:pageMessages></apex:pageMessages><!-- included for display of errors should they occur -->
	<apex:detail inlineEdit="true" relatedList="true"></apex:detail> <!-- included so Account detail information is visible when errors occur -->
</apex:page>
In addition to the code you will need the following:
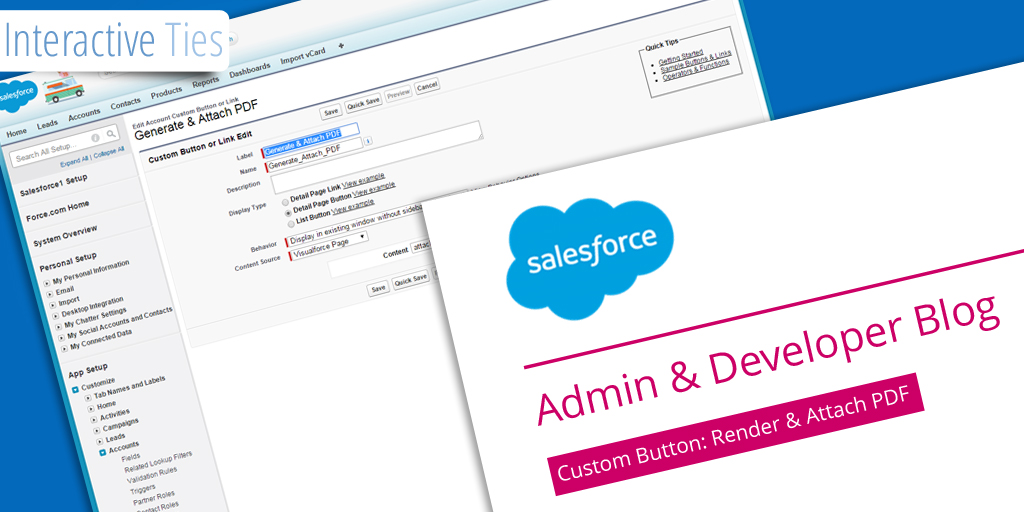
The last thing we need is the button/link that will be used to run the logic. Navigate to Setup > Customize > Accounts > Buttons, Links, and Actions then click the "New Button or Link" button.
Provide the following details for the button:
After you have saved the new button you will need to add the button to your Account page layout. Navigate to Setup > Customize > Accounts > Page Layouts and click the "edit" link located next to the page layout name where you would like the button included. Add the button and save the layout.
Now navigate to an Account record and click the "Generate & Attach PDF" button.
Magic.


