Clone an Inbound Change Set
Salesforce developers and administrators have a number of options available for deploying changes between Salesforce organizations. I've worked with a number of businesses that prefer the use of change sets. Most often their preference is due to the fact that there is some comfort with the ability to see all of the metadata items that a given change set contains plus the interface is natively point & click.
The major downside to change sets is the time it takes to create a new one. Point & click is certainly nice but the interface is slow and, if there are many different metadata items, the process can be time consuming. Another major issue with change sets is that there is currently no native way to clone an inbound change set in order to create a new outbound change set.
What if you are on a Salesforce team that requires migration of changes from a developer org to a full sandbox org before ultimately being moved into a production org? That's certainly good strategy but the process itself can be less glamorous. You literally need hours to simply handle the change set creation and comparison to ensure that nothing is overlooked between your org migrations.
For those adventurous (or comfortable) enough to use the Force.com Migration Tool, there is a way to reduce the amount of time it takes to create a new change set from an existing one.
For this whole thing to work we are making two assumptions:
- You already have a change set created in a Salesforce org
- You have already worked with the Force.com Migration Tool
Based upon my assumptions, you should already have a directory setup where you have been working with the Force.com Migration Tool.
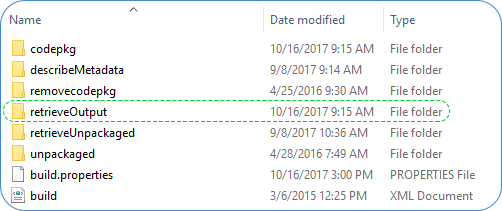
- Make sure you have a folder named "retrieveOutput" in the directory.
- Edit the build.properties file so that the sf.pkgName is uncommented and the name of the change set is the value.
- Retrieve the change set
- Move the retrieved metadata items from the "retrieveOutput" folder to "codepkg" folder
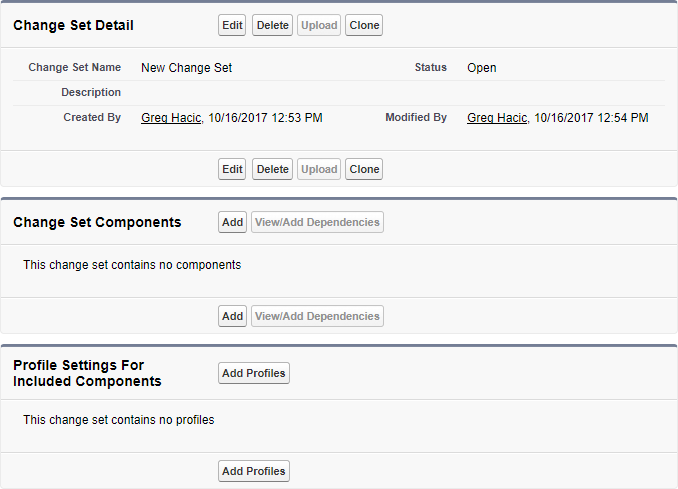
- Manually create a Change Set in your Salesforce Org via the user interface.
- Populate the Name of the change set in the package.xml definition
- Deploy the change set
- Verify that the components were added to the change set
See graphic below showing that the name of the Change Set is the same as the sf.pkgName value set within the build properties
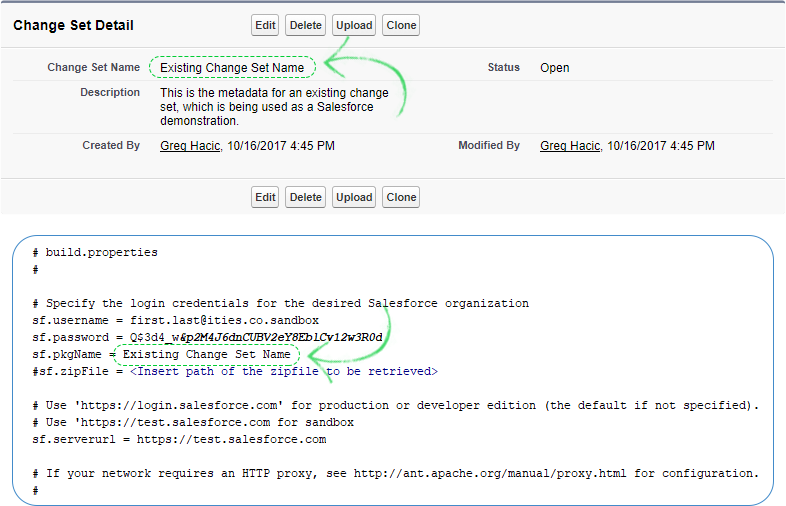
The package name is used in the retrievePkg request as defined in the build.xml file, which will be performed in a later step
<target name="retrievePkg">
	<sf:retrieve username="${sf.username}" password="${sf.password}" serverurl="${sf.serverurl}" retrieveTarget="retrieveOutput" packageNames="${sf.pkgName}"/>
</target>C:\Users\Greg\Desktop\directory>ant retrievePkg
This will construct a package.xml file and place it in the retrieveOutput folder
Will also create the sub-directories and metadata files associated with the change set
Setup > Deploy > Outbound Change Sets > New
<fullName>New Change Set</fullName>C:\Users\Greg\Desktop\directory>ant deployCode
Setup > Deploy > Outbound Change Sets > "New Change Set"
As a truly last step you may want to comment out the sf.pkgName variable definition from the build.properties file just to prevent any problems the next time you use Ant.
Anyway, I hope you find this information useful. This hack is worth learning. It will save you so much time.
Author

I've been working with Salesforce since 2003. Over the years, I've held various roles for a diverse array of salesforce.com customers, created a Salesforce specific ISV, and built numerous applications for the AppExchange. All of these experiences have allowed me to learn quite a bit about building on the platform.