Trusted IP Ranges Easily whitelist IP addresses.
Purchase the Trusted IP Ranges Application
Click the "Buy" button from the Trusted IP Ranges product page on InteractiveTies.com.
Once the purchase is processed you will receive an email with instructions on how to access the application installation link, which will be made available through the InteractiveTies.com website.
Prior to beginning the installation steps you will be required to agree to the terms of the installation and enter your email address.
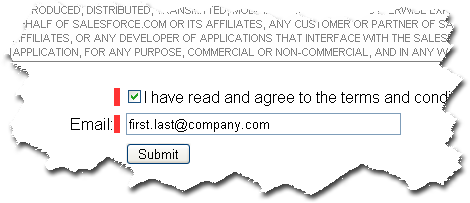
- Due to the nature if this application you will only have 24 hours to install the Trusted IP Ranges application from InteractiveTies.com.
Install the Trusted IP Ranges Package
Sign into the Salesforce Org
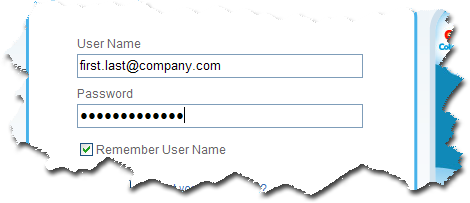
Sign in to the Salesforce org where you would like the application installed.
You will be prompted for the login credentials for a Salesforce org. Please provide the username and password for the org in which you would like to install the Trusted IP Ranges Application. Then click the Continue button.
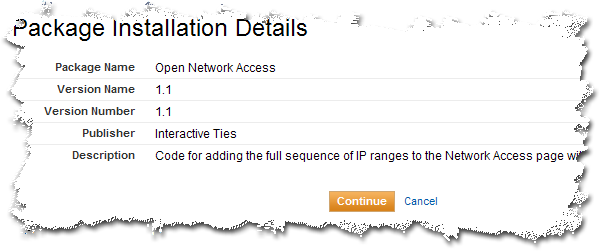
Review the package installation details
The page will display all the contents of the package you are about to install. This page is merely informational. Click Continue.
Step Through the Package Installer
- Approve API Access for the Package - the first step of a three step process is to approve the API Access required to run the application. This application does not use the Salesforce API to run so this screen is merely informational. Simply click the "Next" button.
- Choose the Security Level - the second step will allow you to update your existing Salesforce profiles with access to the contents of the package. Since the Trusted IP Ranges application will be literally updating the Network Security for your org, you should select the "Grant Access to Admins Only" option and click the "Next" button.
- Install the Package - the last step in the process is to actually install the contents of the package with the settings you made in the previous steps. Click the "Install" button.
Upon successful installation of the package you will be directed to an Install Completion page. Simply click the "View Package Contents" button.
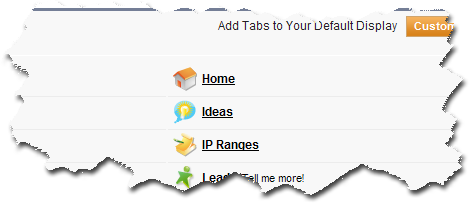
Make the IP Ranges custom tab visible to admins
The tab layout is modified by going to the last tab (+) in the tab list at the top of the screen.
The tab you seek is labeled "IP Ranges". Click the label from the list on the page or click the "Customize" button towards the top of the page to update the overall tab listing.
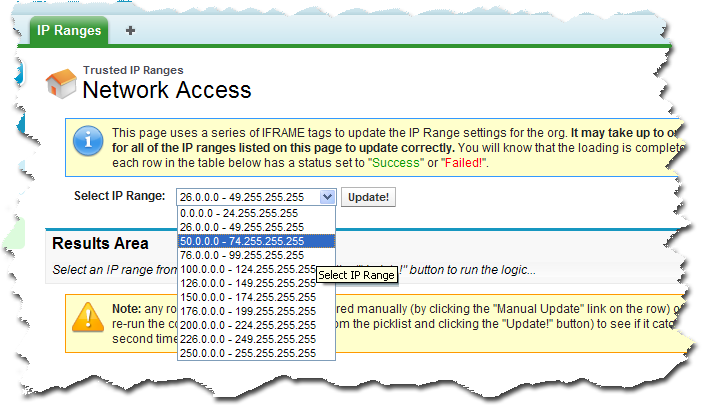
Run the application in order to Whitelist all IP Ranges for your Organization
There is a list of IP ranges in the form of a picklist, which can be selected.
Choose one range from the list and click the "Update!" button.
Find detailed instructions in our User Guide.